
Reverse Osmosis System Installation in Palm Coast FL

Installing a reverse osmosis system to boost your drinking water quality doesn’t need to involve a full kitchen renovation. For Palm Coast homeowners, the biggest obstacle is usually hidden behind the cabinet doors: a garbage disposal, a dishwasher hose, cleaning products, and maybe a few shopping bags are piled up near the drainpipe. You might not have room on the counter either. There’s always the toaster or coffee maker looking for power.
A good reverse osmosis system will fit in a crowded cabinet. It starts with an inspection of the cabinet and sink, some choices about how to set things up, and some easy-to-follow steps during the initial weeks.
Moment One: Evaluating the Cabinet and Sink
The inspection begins with the sink, doors wide open, and the shelves below emptied of everything. Be on the lookout for water damage from a leaky bottle, or just a little staining on the cabinet floor from dishwasher tablets. Measure out room for the filter housings, tank, shutoff valve, and cartridge replacements.
Your plumbing will determine how you organize the components. If you have a disposal, there may be little space on that side. Your dishwasher hose arcs across the back wall and clips onto the sink rim. Copper lines, supply tubes, and the P-trap all take up room. Ionex Water LLC can decide whether the tank needs to sit straight up, lay flat and be supported, or even go in the other cabinet.
Next, inspect the sink. Is there an existing hole in the sink top that isn’t being used? If there’s a metal cover on it, it might be possible to install a separate faucet for your drinking water in that hole. If all the holes are being used, like for the soap dispenser, spray nozzle, and regular faucet, then you’ll need a different way to mount the faucet. The material of your sink, which is explained well at https://cnet.com/home, and the space under the sink may matter.
Moment Two: Making Placement Decisions on Installation Day
Clearing the cabinet will give you a better idea of what fits. You might have to move something to get under a sagging shelf or a loose screw on the disposal hinge, or to clear the disposal cord off the cabinet floor. Place the components where you can get to them later, instead of hiding them away behind the disposal where you can’t reach a filter wrench.
Some minor placement choices allow you to keep items in the cabinet:
- Filter housings can be placed higher to leave space for a small waste basket or dish soap holder.
- Tubing can run along the side of the cabinet instead of on the floor next to a wet sponge.
- Tank placement should allow the valve to be reached without having to remove the P-trap.
- Connections for the dishwasher and disposal should be visible for service later.
The drain connection should be placed so it’s not too close to the disposal outlet, where debris and vibration might cause trouble. Tubing should be fastened securely so it won’t rattle when the disposal is running, but don’t bend the tubing too sharply. Once connected, the system should be flushed and inspected around each connection point with a piece of dry paper towel. A drop of water will stand out instantly on white paper.
Moment Three: Using the System During the First Month
The first few days are the learning period. The drinking water faucet by the regular faucet will be used for filling a coffee pot, rinsing rice, or refilling a water bottle. Because your purified water (see here now) is stored in a tank, if you fill several large containers in a row, the water flow will drop off while the tank refills.
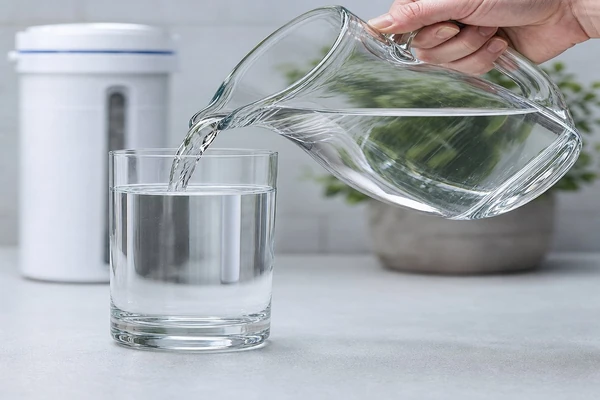
You can check the cabinet over the first month. When you’re getting something from the cabinet, like dishwasher tablets, peek at the sink area. Look for a displaced tube, a damp connection, or a product knocking up against a filter housing. The cabinet should be dry and tubing shouldn’t be touching the disposal, which can shake enough to make a nearby container rattle.
You won’t need to change filters right away, but it’s good to plan where you’ll be able to reach them. If you can get to the filter housing without unpacking all the trash bags and sponges, maintenance will be much easier. Write the installation date on a card that you put inside the cabinet door so you know when you’ll need to replace the filters.
The incoming cold water pressure should be tested prior to the installation of the heater, as well.
If the pressure is too low, the recovery of the hot water in the tank will be slow. Unusually high pressure, on the other hand, may require the use of a pressure regulator to protect the heater and other plumbing fittings.
The initial water test provides the homeowner with a sample to compare against future tests. Record these results next to the date of installation.
A Good Solution Without Changing the Kitchen
An RO system can be installed in a cabinet with a disposal and dishwasher hose, and still have room for the groceries you bring home from the store. Planning the measurements, routing the tubing, and placing components so they’re easy to reach allows Palm Coast residents to add a separate drinking water faucet without having to change the sink, rework the cabinets, or sacrifice the inch of counter space next to the coffee maker.


-
Chencharu Central Residences Looks to Parktown’s 87 Percent Launch Weekend as a Guide
Chencharu Central Residences Emulating Parktown’s Successful Launch Strategy In the heart of ... -
-
-
-